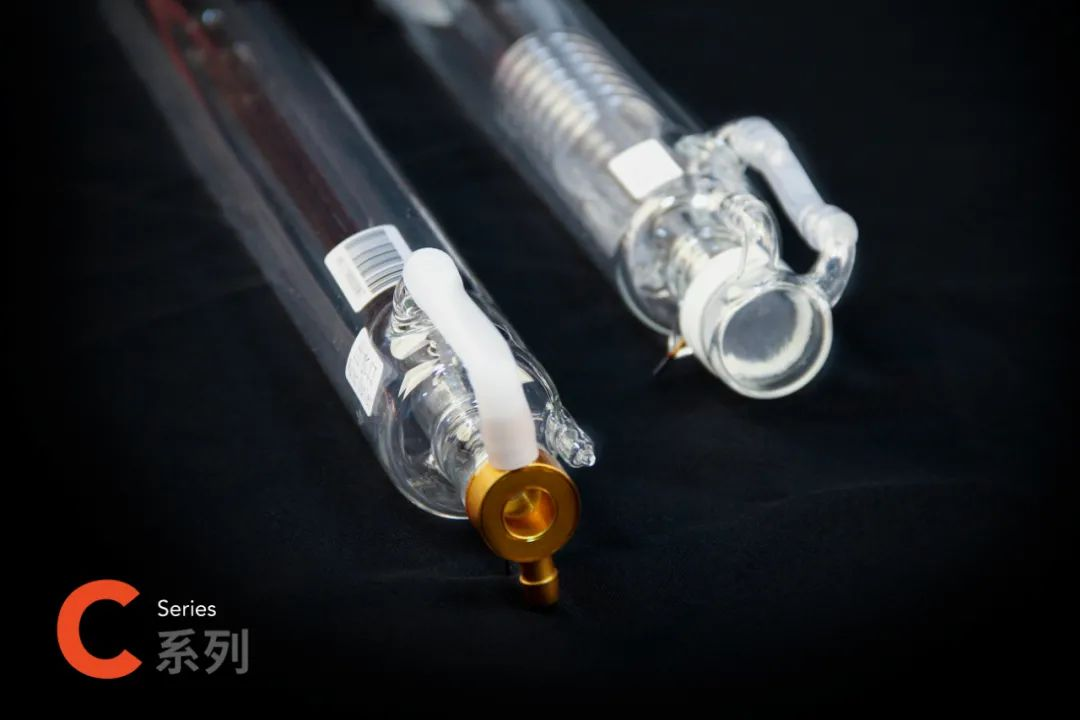
C series CO2 laser tube has high optical quality, strong cutting force and high stable performance. At the same time, advanced vacuum coating technology is used to further improve the power and service life of the laser tube, and provide a stable laser source for demanding laser machinery manufacturers.

link:https://youtu.be/hoCJUhR_KgU
STEP 1
Carefully take the laser tube out of the outer packing box and place it on the holder of the machine. Note that the positions of the supporting points at both ends should be aligned with the base.

Face the label of the laser tube up and fix the laser tube to the base of the bracket with a fixing strap.

Connect the inlet and outlet hoses of the chiller to the two ends of the laser tube respectively.The water outlet of the chiller connects to the water inlet of the laser tube. The water inlet of the chiller connects to the water outlet of the laser tube.


STEP 2
Connect the laser tube to the power supply (Please make sure the device is not powered)

Connect the high-voltage line of the laser tube to the high-voltage line of the laser power supply. Wrap the interface with insulating tape and insert it into the pipe of the quick connector

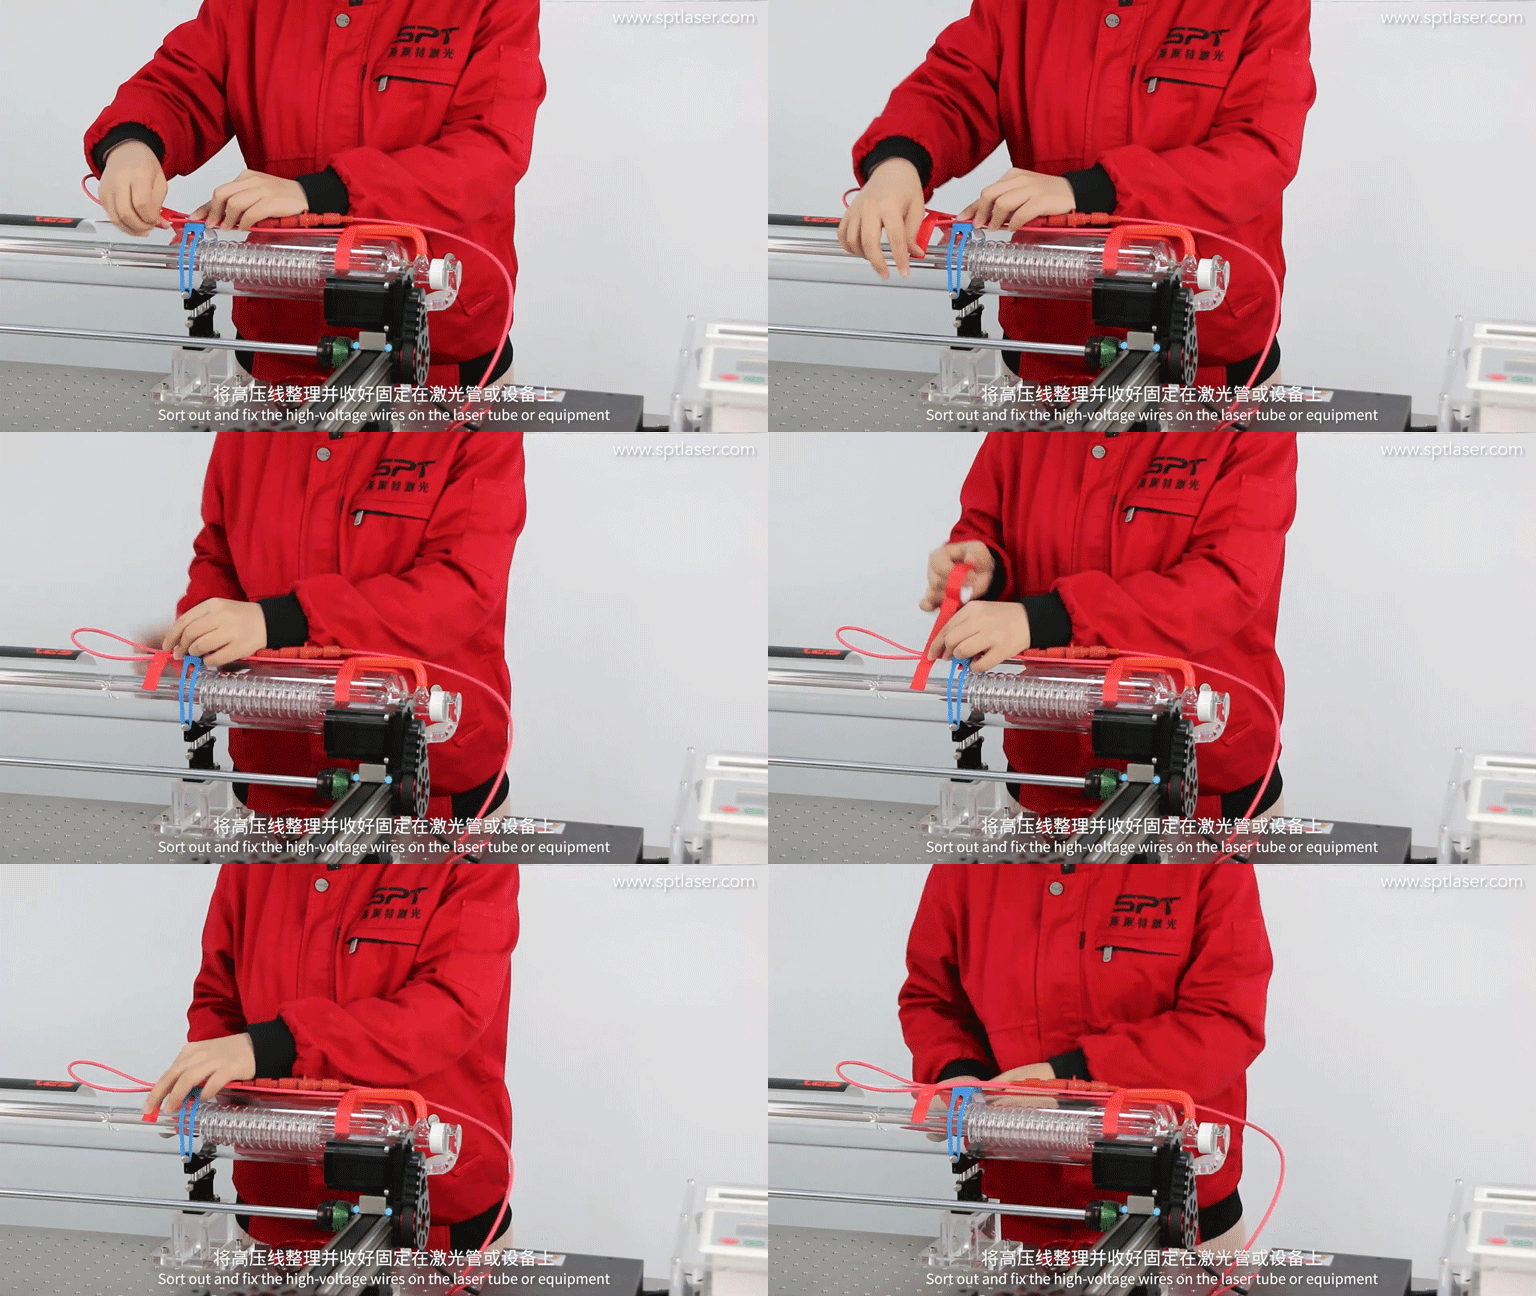
Finally, lock the quick connector, and sort out and fix the high-voltage wires on the laser tube or equipment

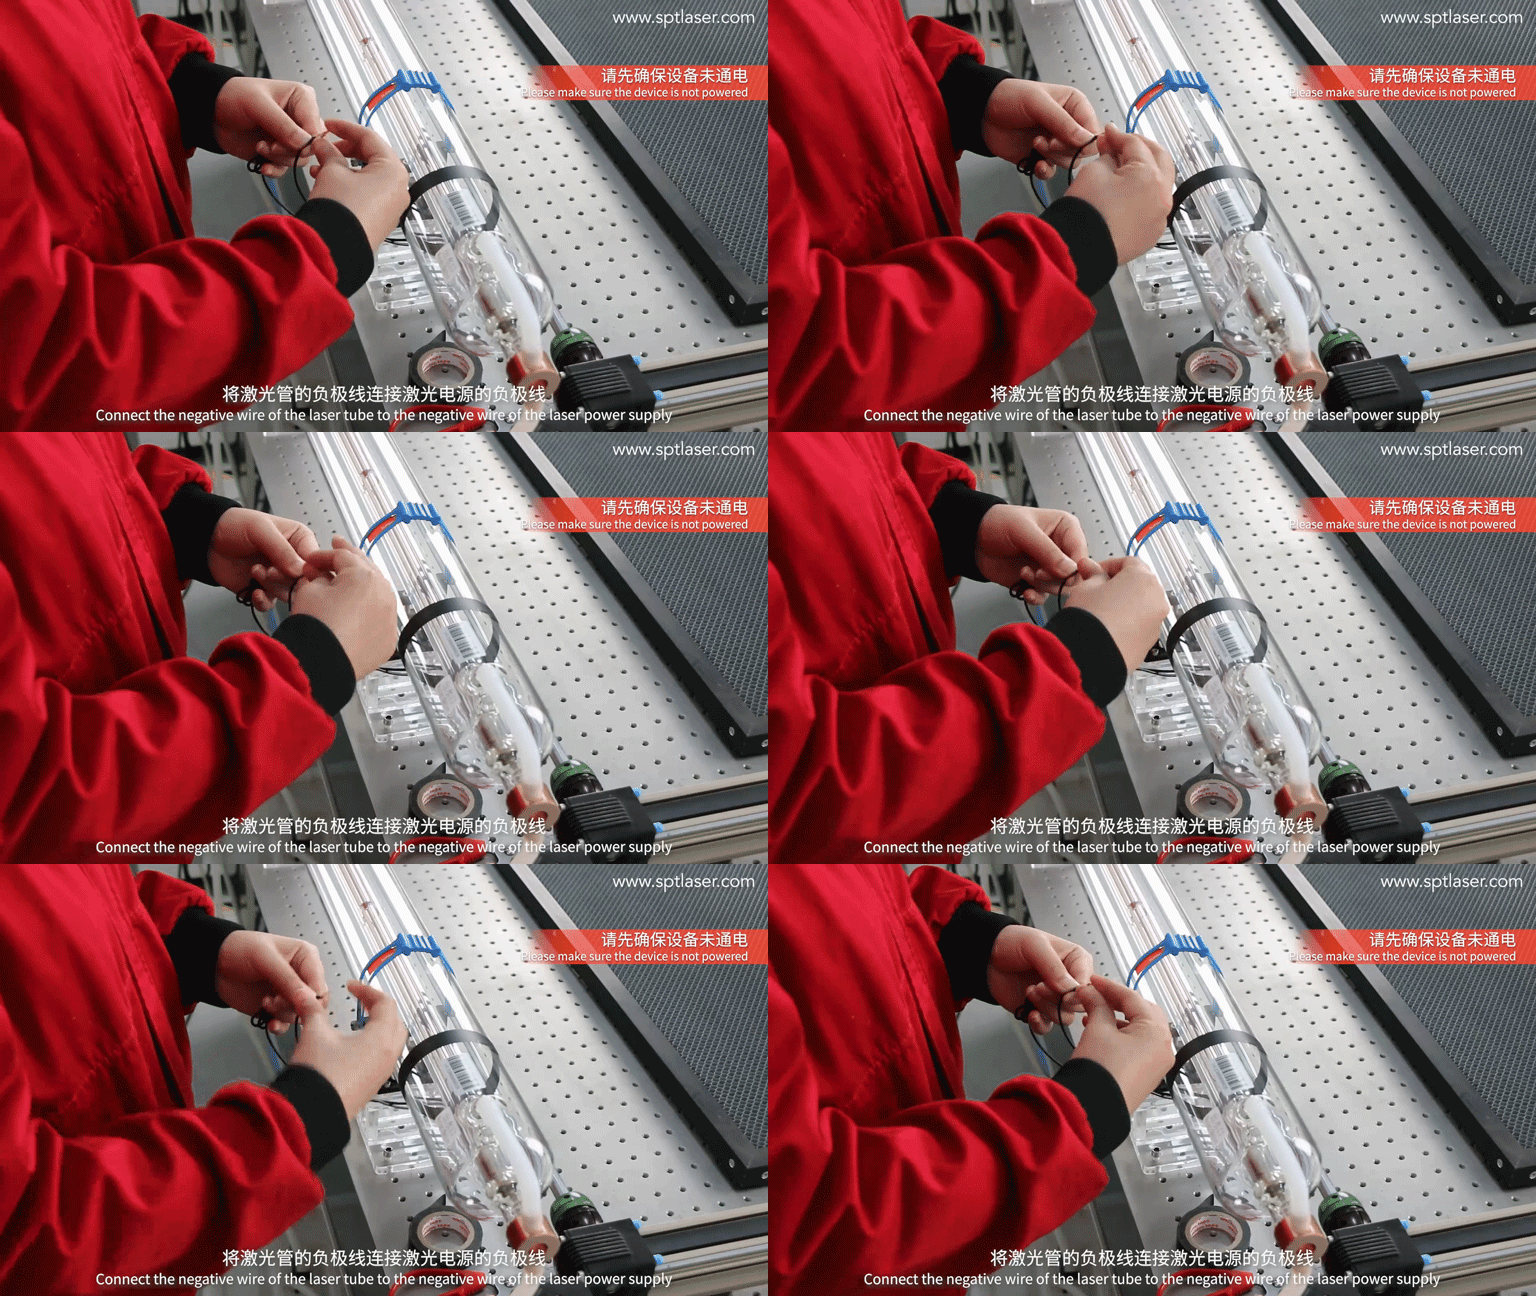
Connect the negative wire of the laser tube to the negative wire of the laser power supply, and wrap the interface with insulating tape.

And sort out and fix the high-voltage wires on the laser tube or equipment

STEP 3 Install the dust cover

Take out the dust cover and put it into the laser tube’s light outlet.
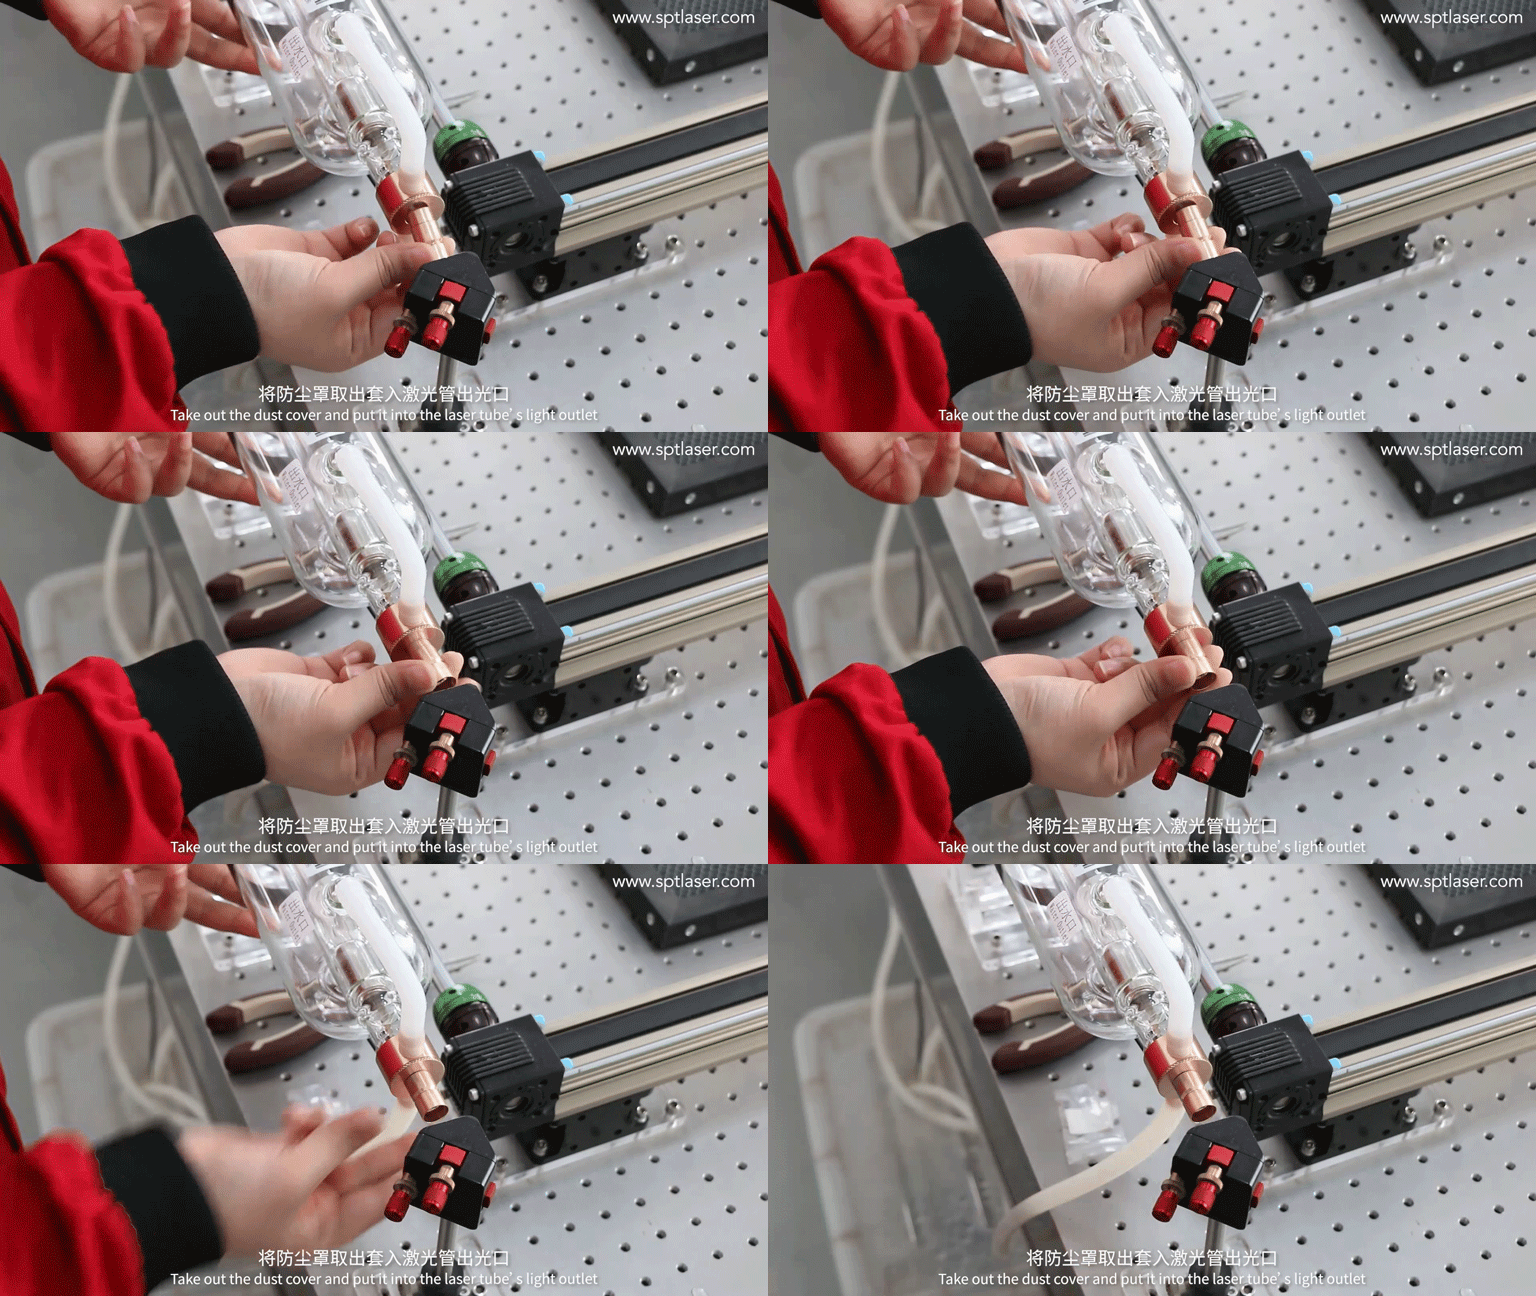
If you feel that the interface is loose, use needle-nose pliers to lightly press the dust cover to make adjustments.Pay attention to the intensity of the adjustment, and try multiple times if necessary.

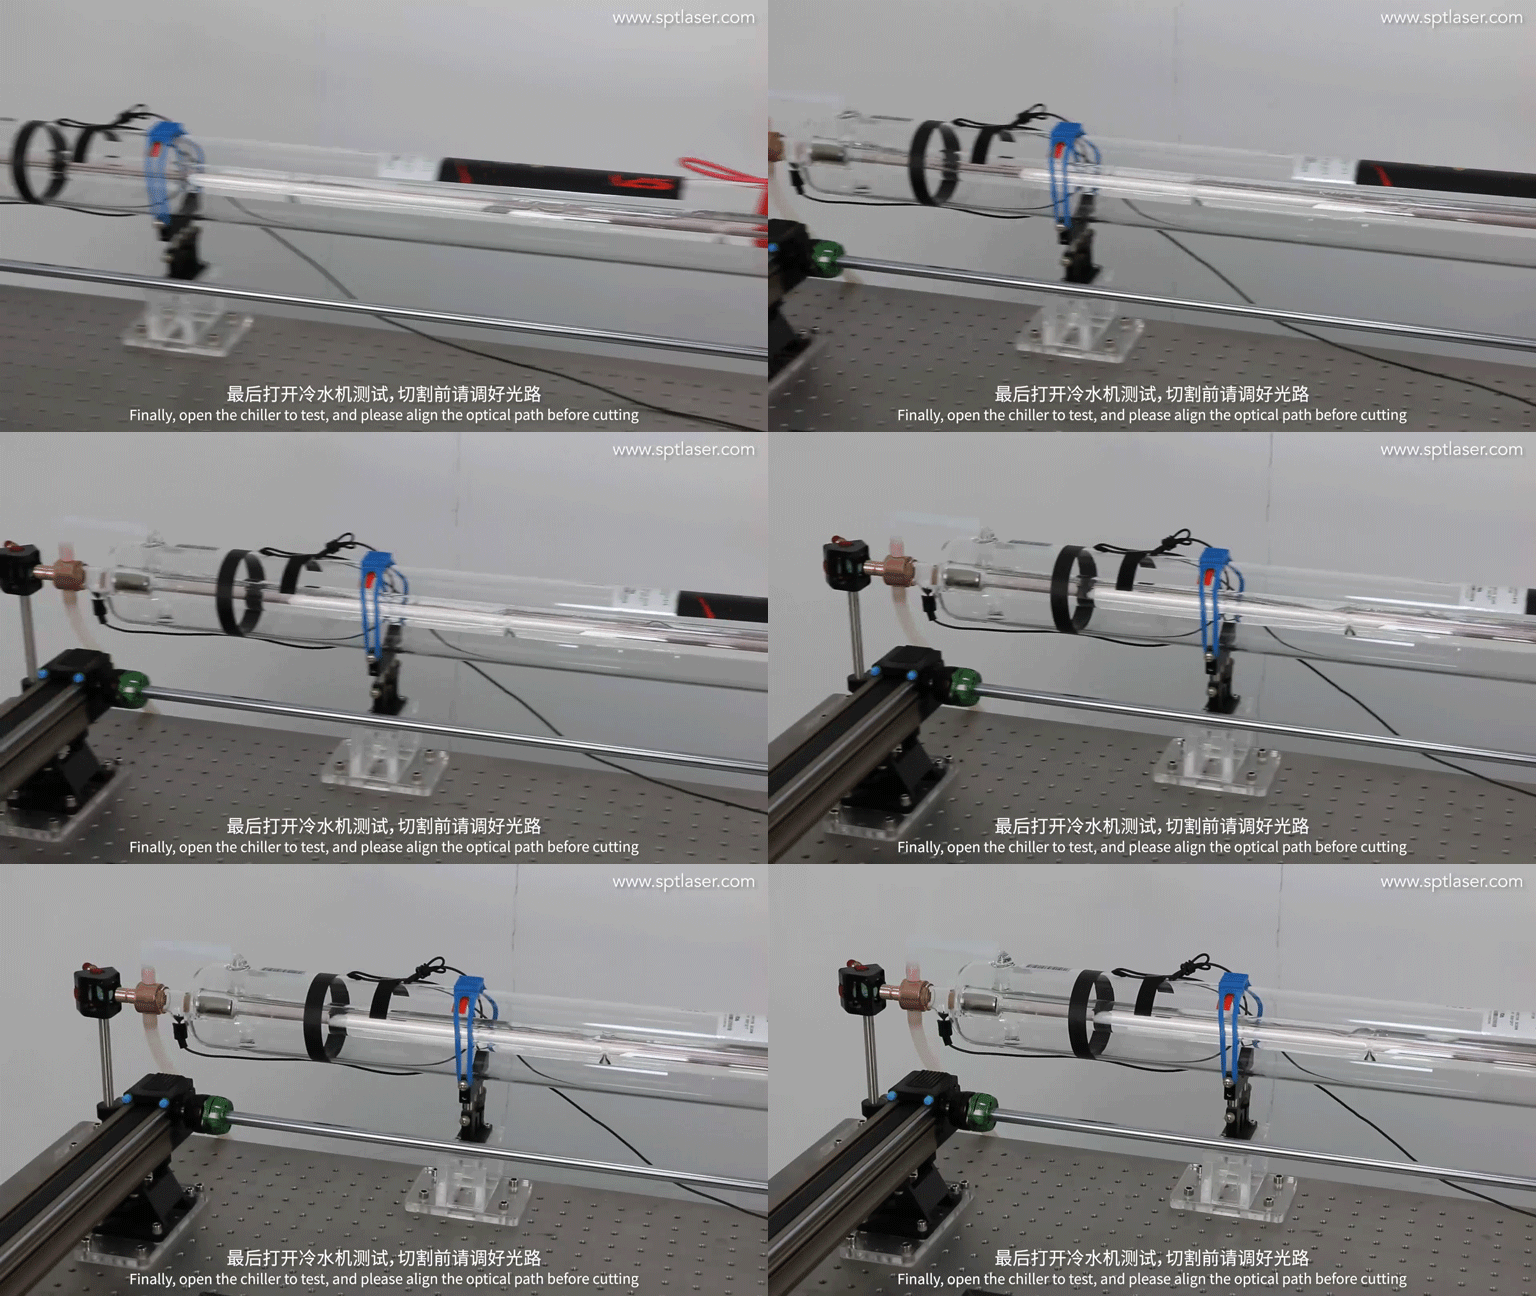
After the installation is complete, turn on the chiller to test. Make sure that the water in the laser tube is full and there are no bubbles. Then the laser beam will be emitted.(please align the optical path before cutting)
